Are your winter slippers falling apart? Maybe you’re wondering how they’re even made in the first place.
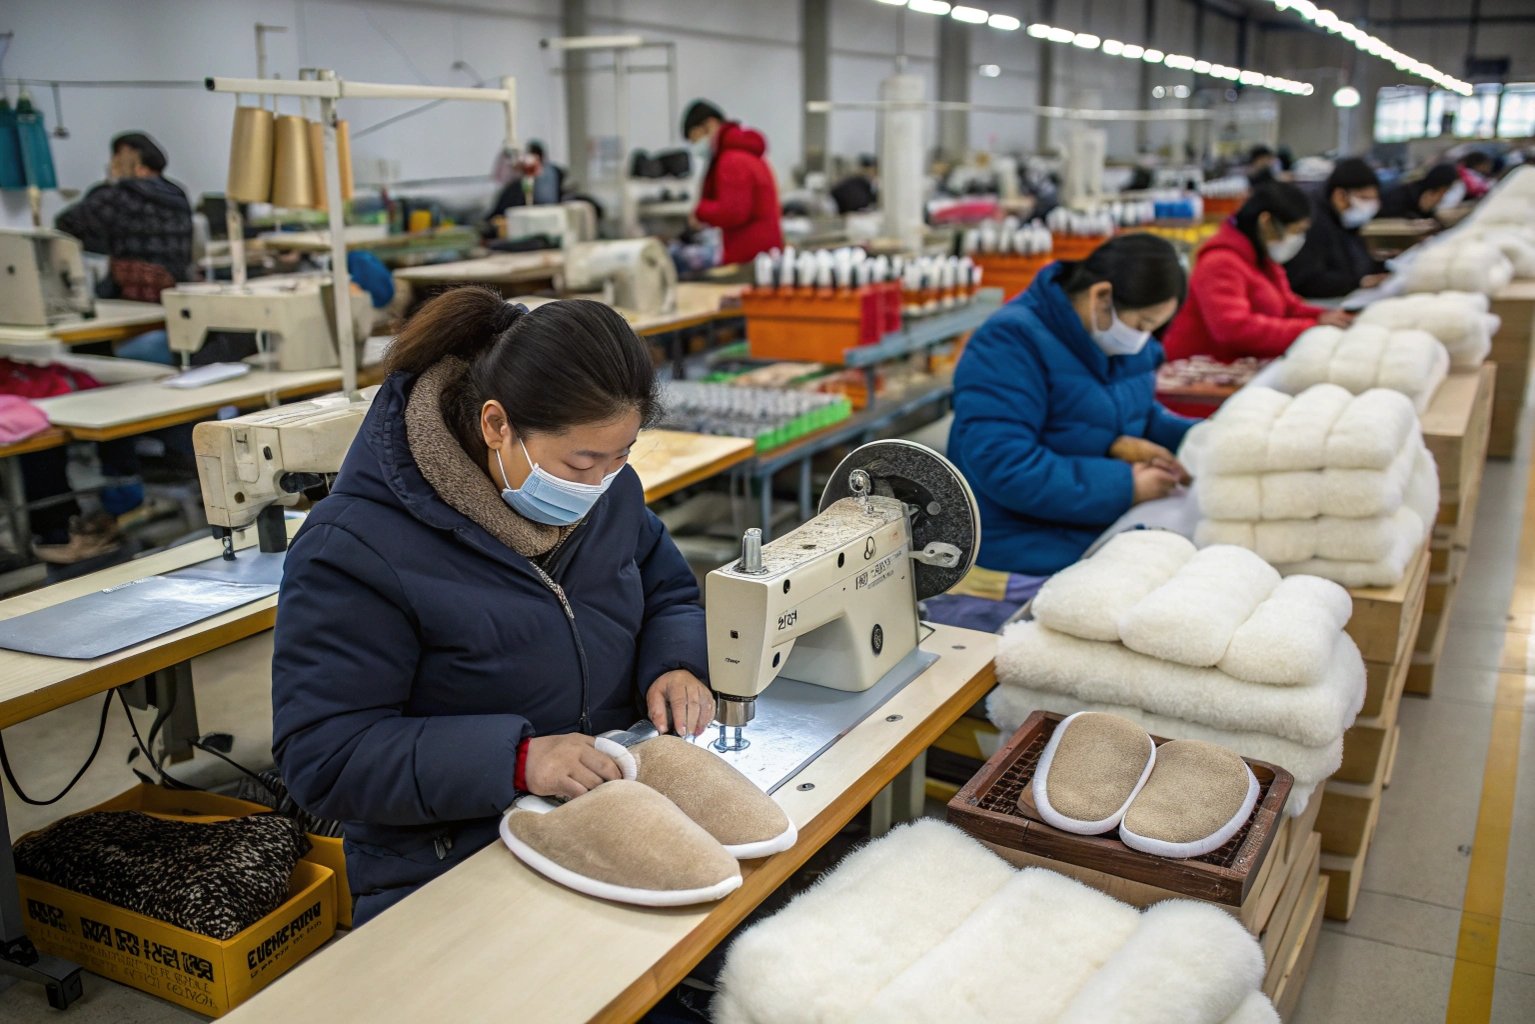
The standard sewing process for winter slippers includes cutting materials, stitching the upper and lining, attaching the sole, and adding finishing touches like labels and decorations.
Let’s get into the details! I will share what I know from years of experience in the slipper industry.
How is the upper part of a winter slipper sewn?
Is the upper the most important part of a slipper? It certainly seems like it.
The upper part of a winter slipper is sewn by first cutting the fabric according to a pattern. Then, the lining is attached, and decorative elements are added before the pieces are stitched together.
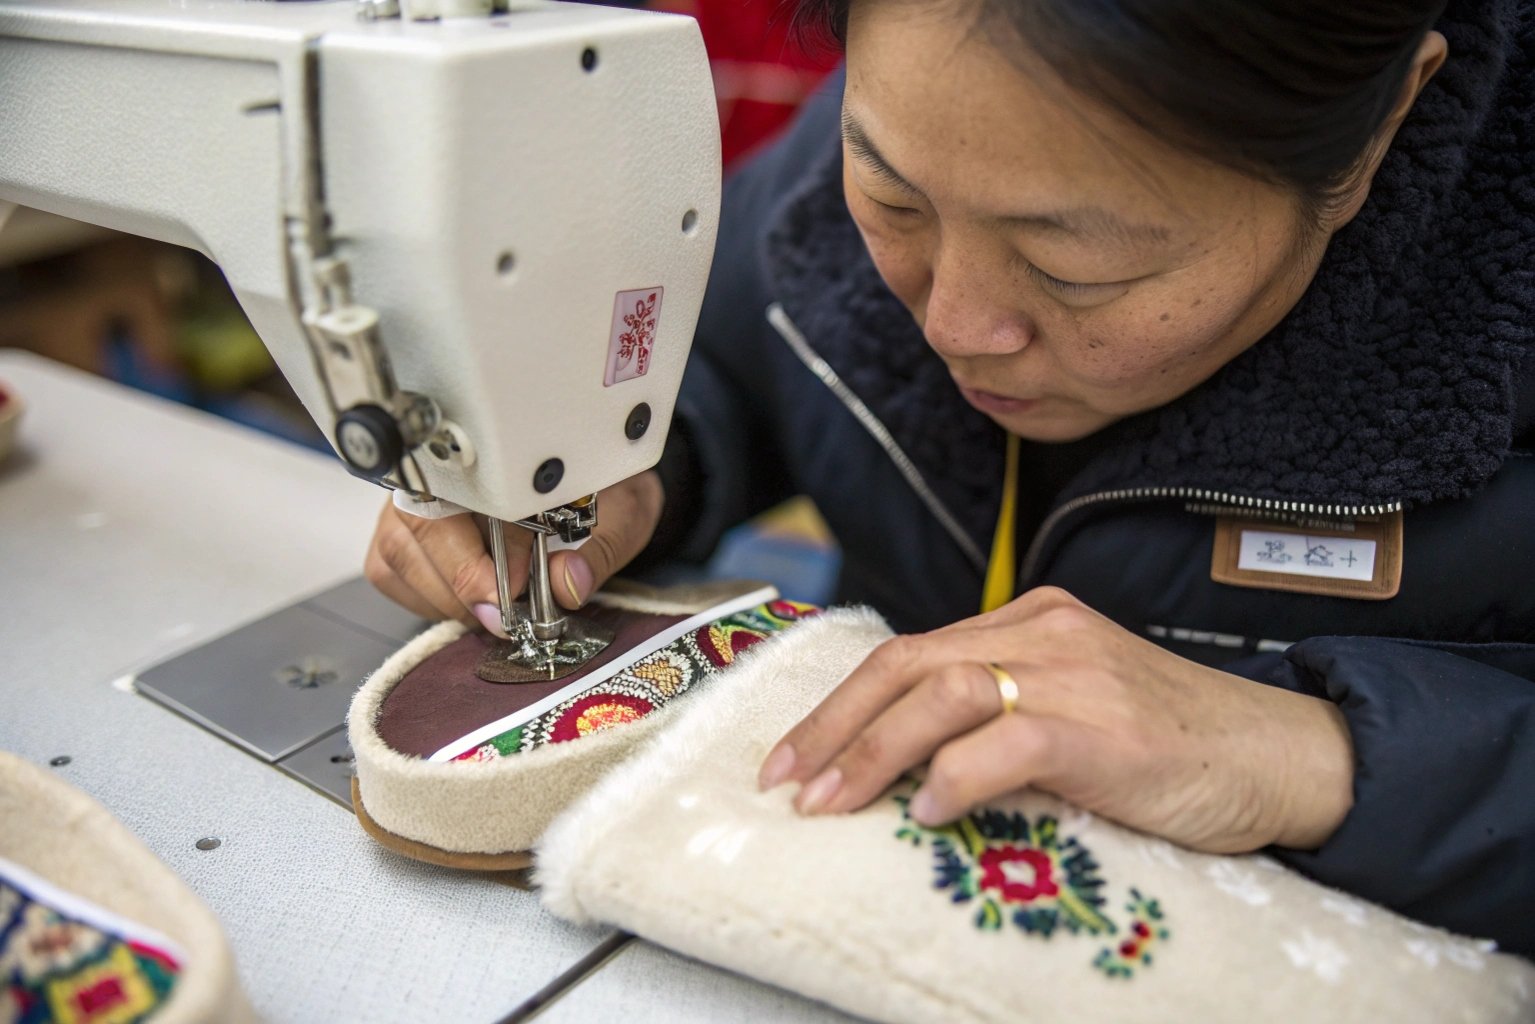
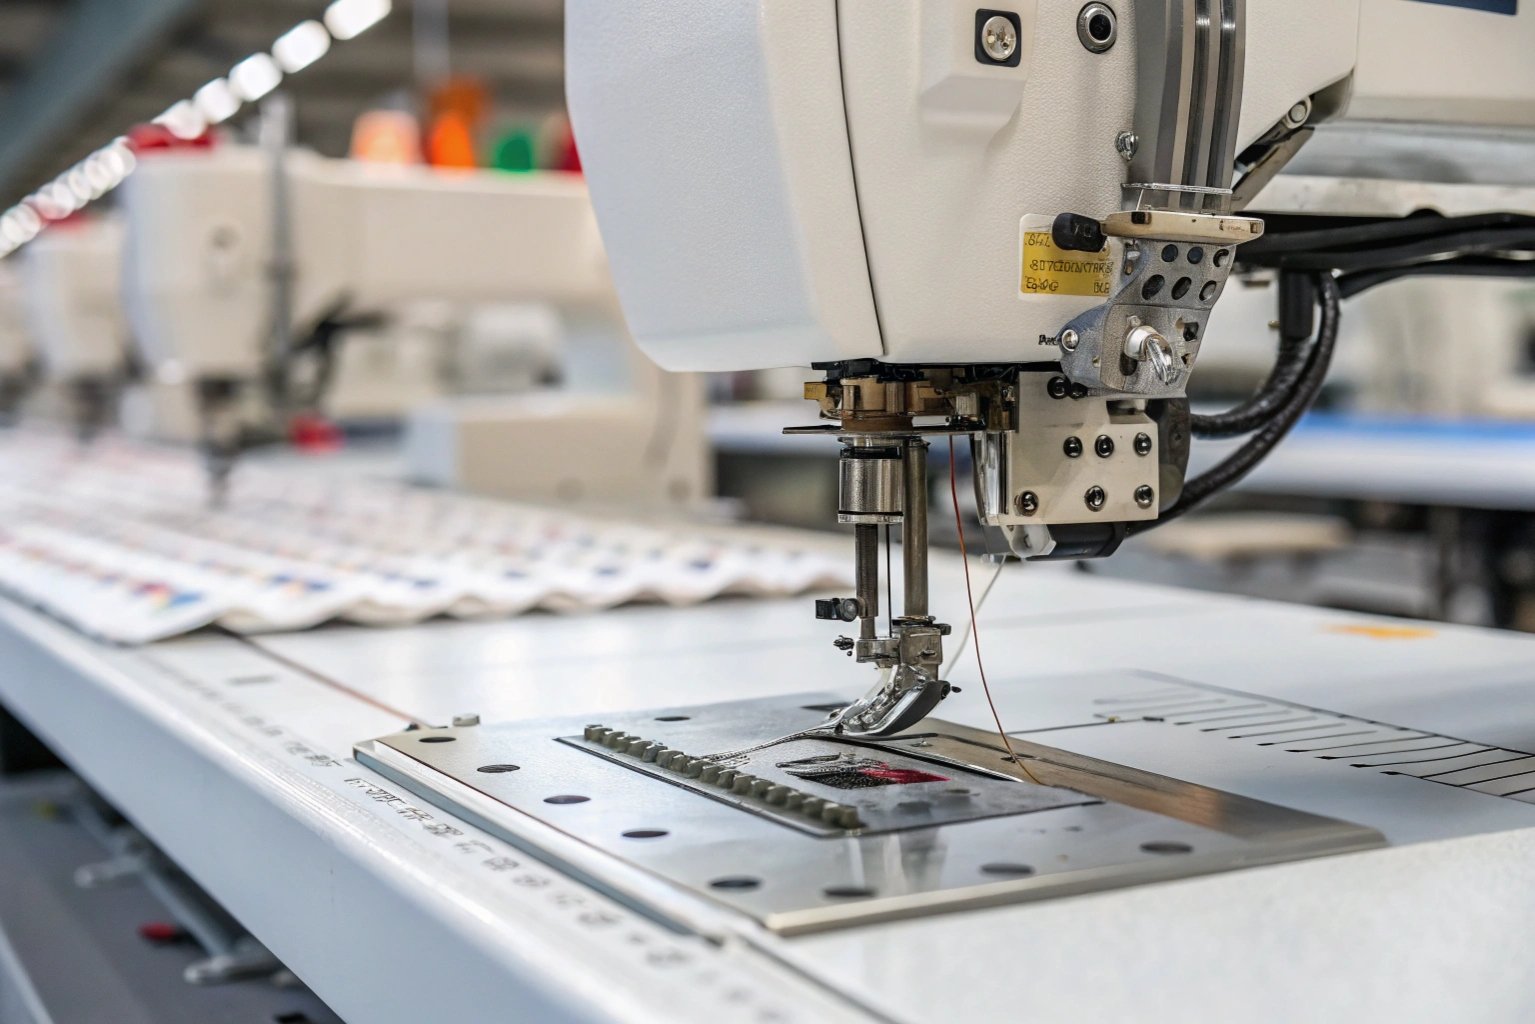
The upper part of the slipper is crucial, not just for looks, but also for comfort and warmth. Think about the materials we use. For example, fleece or faux fur offers great insulation. The sewing process begins with precise cutting, which is often done using automated cutting machines for larger orders to ensure consistency. Then, we carefully stitch the lining to the outer material, which adds to the slipper’s durability and comfort. Finally, any decorative elements, like embroidery or labels, are sewn on. This is why quality control during this phase is so important. This is where we identify and fix any errors, so the slippers meet our standards before we move on to the next step.
| Step | Description | Importance |
|---|---|---|
| Fabric Cutting | Cutting the outer fabric and lining based on pre-defined patterns. | Ensures accurate sizing and shape of the slipper. |
| Lining Attachment | Stitching the lining material to the outer fabric. | Adds comfort, warmth, and durability to the slipper. |
| Decoration | Adding decorative elements such as embroidery, appliques, or labels. | Enhances the aesthetic appeal of the slipper. |
| Stitching | Joining all the pieces together to form the complete upper part. | Creates a secure and durable structure for the slipper. |
How is the sole attached to a winter slipper?
What keeps you from sliding all over the house? The sole is the answer.
The sole is attached to a winter slipper using strong adhesives and stitching. This ensures a durable bond that can withstand regular wear and tear, providing traction and support.
Attaching the sole is a critical step. The sole needs to be durable and securely attached. We often use a combination of strong adhesives and stitching to achieve this. This process starts with applying a specialized adhesive to both the upper part of the slipper and the sole. We press them together, making sure there are no gaps or air pockets. Then, for extra durability, we stitch around the edges. The type of stitching we use, like lockstitch or chain stitch, depends on the material and desired level of reinforcement. Quality control is essential here. We test the bond strength to ensure the sole won’t detach easily.
| Task | Description | Purpose |
|---|---|---|
| Adhesive Application | Applying a strong adhesive to both the upper and the sole of the slipper. | Creating a strong bond between the upper and the sole, ensuring they remain attached during use. |
| Pressing | Pressing the upper and sole together to ensure a uniform bond. | Removing air pockets and ensuring maximum contact between the adhesive surfaces. |
| Stitching | Stitching around the edges of the sole to reinforce the bond. | Adding extra durability and preventing the sole from detaching, especially under stress or frequent use. |
| Quality Control | Testing the strength of the bond between the upper and the sole. | Ensuring the slipper can withstand regular wear and tear without the sole detaching. |
How are finishing touches added to winter slippers?
What about the little extras that make slippers special? They matter too.
Finishing touches are added to winter slippers by trimming excess material, adding labels or tags, and performing a final quality check to ensure they meet standards.
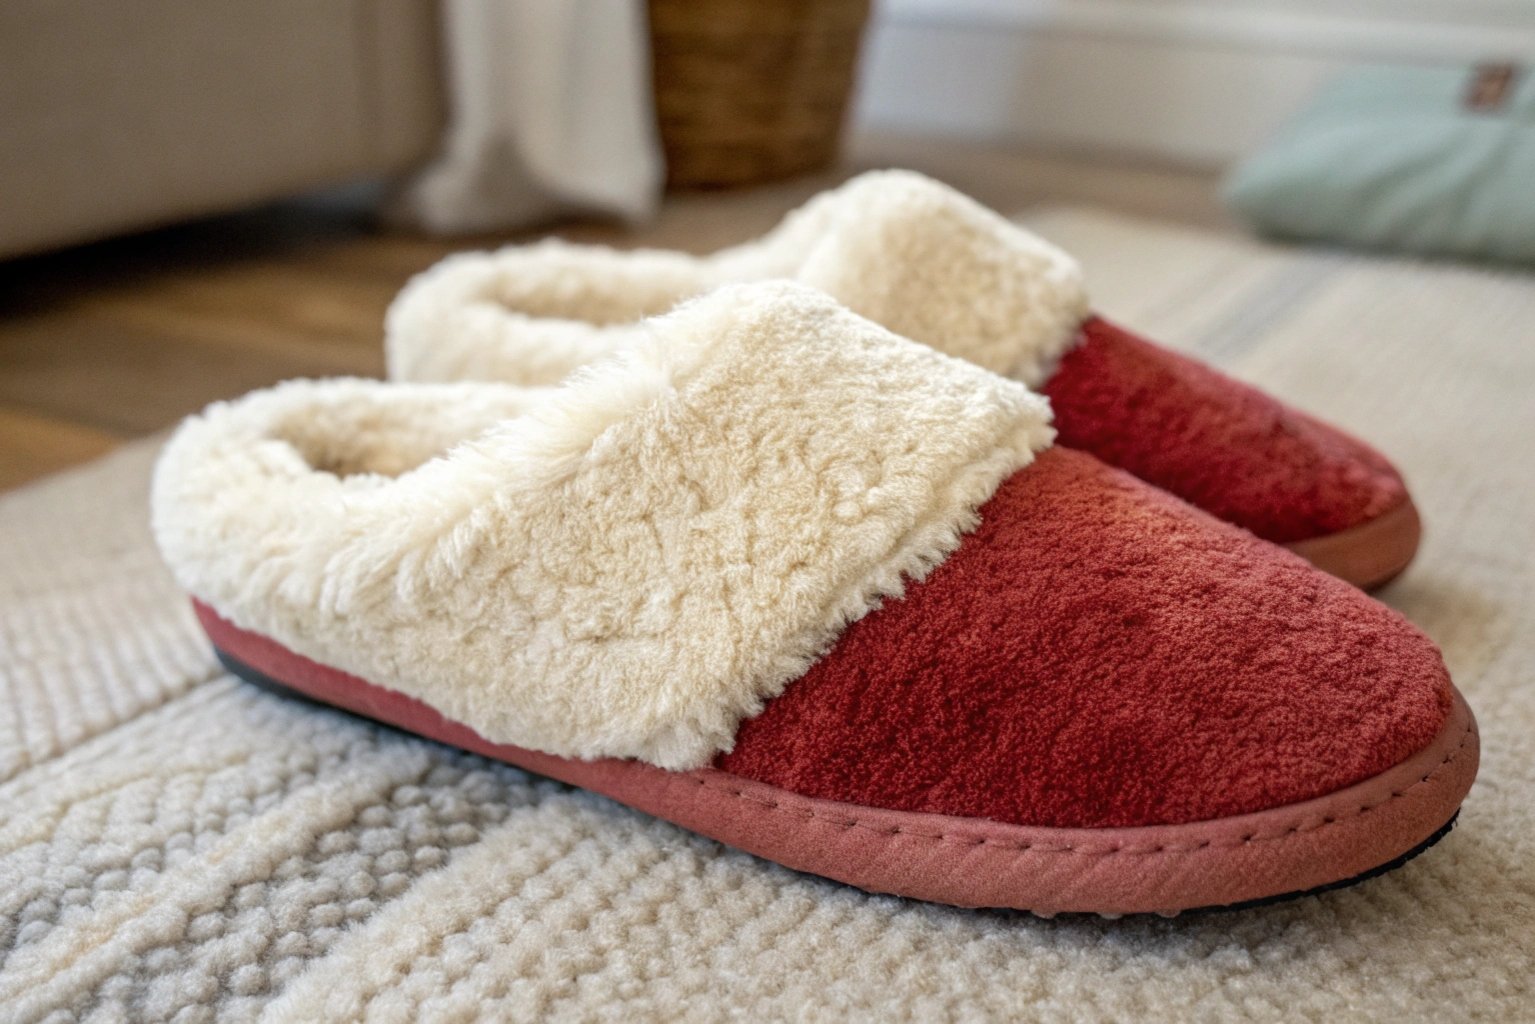
The finishing touches are what make a slipper ready for the customer. This includes trimming any excess material, like loose threads or uneven edges. Then, we add labels or tags. They include branding, size information, and care instructions. We also add decorative elements like bows, buttons, or pom-poms. But the most important part of the finishing touches is the final quality check. We make sure every slipper meets our quality standards. This includes checking the stitching, the sole attachment, and the overall appearance. We fix any defects before packing and shipping.
| Task | Description | Purpose |
|---|---|---|
| Trimming | Removing excess fabric or threads from the slipper. | Improving the overall appearance and preventing loose threads from unraveling. |
| Labeling | Adding labels or tags with branding, size, and care instructions. | Providing customers with essential information and promoting brand recognition. |
| Decorative Elements | Attaching decorative elements such as bows, buttons, or pom-poms. | Enhancing the aesthetic appeal of the slipper and adding unique design features. |
| Final Quality Check | Inspecting the slipper to ensure it meets all quality standards. | Identifying and rectifying any defects to ensure a high-quality product is delivered to the customer. |
Conclusion
Making winter slippers involves cutting, sewing, and finishing. These steps ensure a warm and durable product.