Worried about bubbles ruining your plastic slippers? No one wants to see those imperfections popping up.
Reducing the bubble rate in plastic slipper soles involves controlling factors like material quality, temperature, pressure, and mold design. Careful attention to these details can significantly improve the final product.
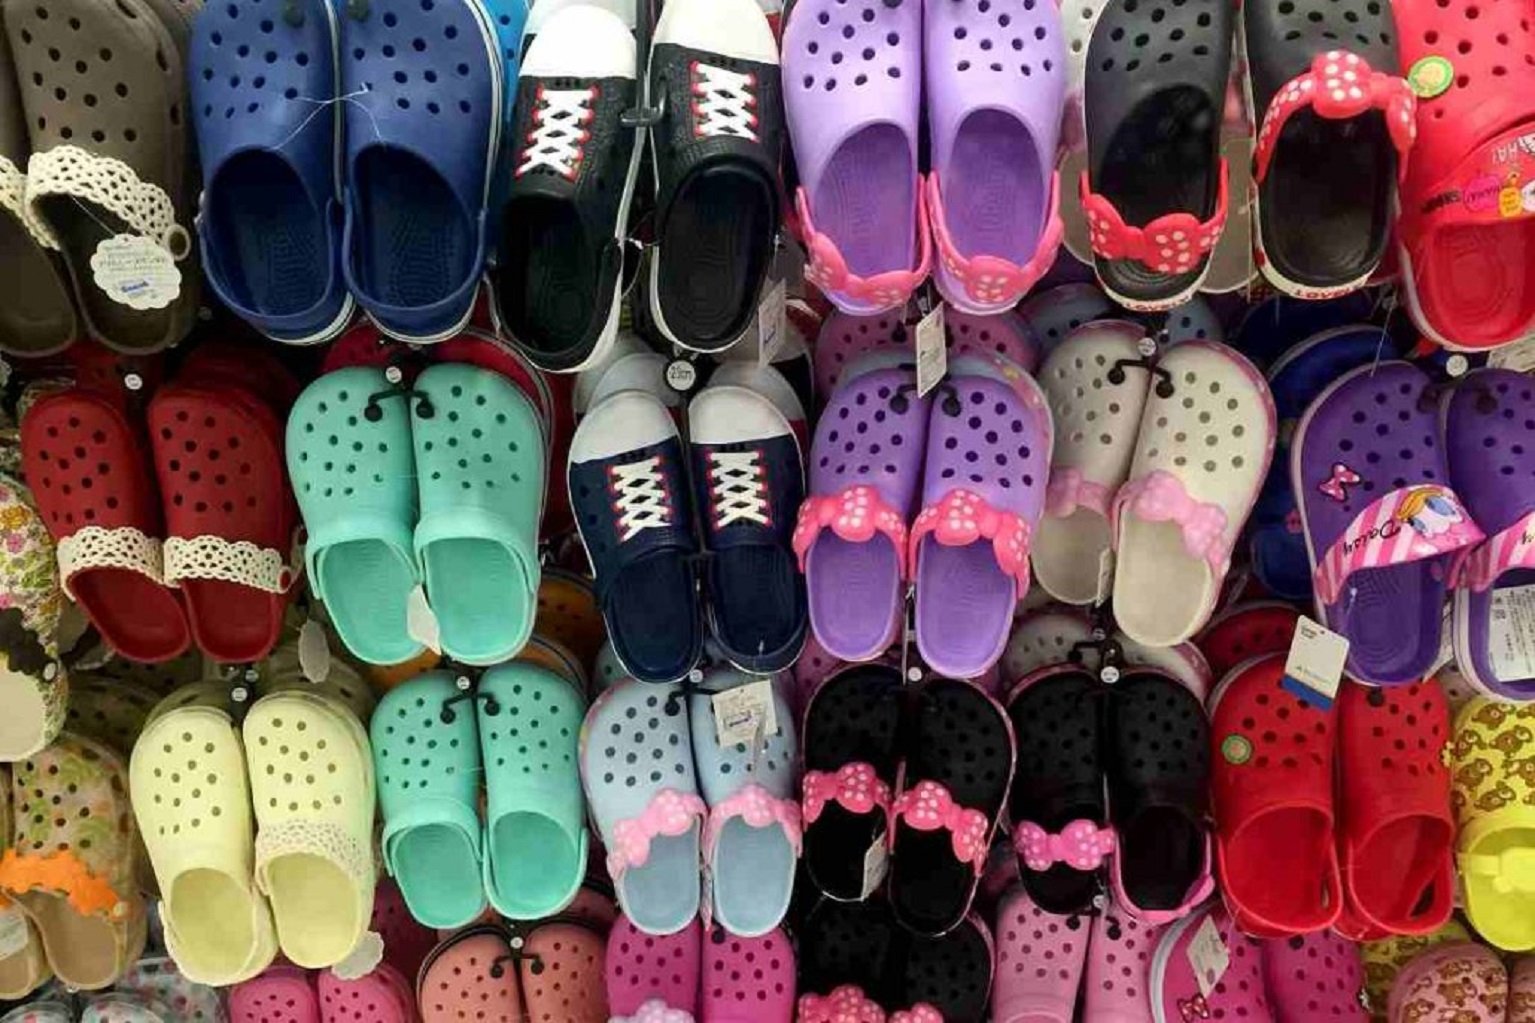
Let’s get right to it. Bubbles can be a real headache, but with the right know-how, we can tackle this issue head-on.
Are you using the correct raw materials for plastic slippers?
Are bubbles appearing, even when your processes seem correct? The raw materials could be the problem.
Using high-quality raw materials with low moisture content is crucial for minimizing bubbles in plastic slipper soles. Impurities and moisture can lead to gas formation during molding, resulting in bubbles.

The type of plastic you choose matters. EVA (Ethylene-vinyl acetate) is a common material for slippers, but different grades exist. Look for EVA with consistent density and minimal additives. Also, check if your colorants or other additives are contributing to the problem. They might contain moisture or react in a way that creates gas.
Here’s a table summarizing key raw material considerations:
| Material Component | Importance | Potential Issue | Solution |
|---|---|---|---|
| EVA Resin | High | Inconsistent density, high moisture | Source from reputable suppliers, dry before use |
| Colorants | Medium | Moisture content, chemical reactions | Use pre-dried colorants, test compatibility |
| Additives | Medium | Gas formation, impurities | Choose appropriate additives, filter impurities |
Proper storage of raw materials is also essential. Keep them in a dry, cool place to prevent moisture absorption. Before using the materials, consider pre-drying them using a dehumidifying dryer. This simple step can make a big difference in reducing the bubble rate. Always prioritize good raw materials.
Are your plastic slipper molding temperature settings correct?
Is the temperature right? Too high or too low can cause big problems.
Maintaining optimal temperature settings during the molding process helps prevent bubble formation. Proper temperature ensures uniform melting and prevents material degradation.
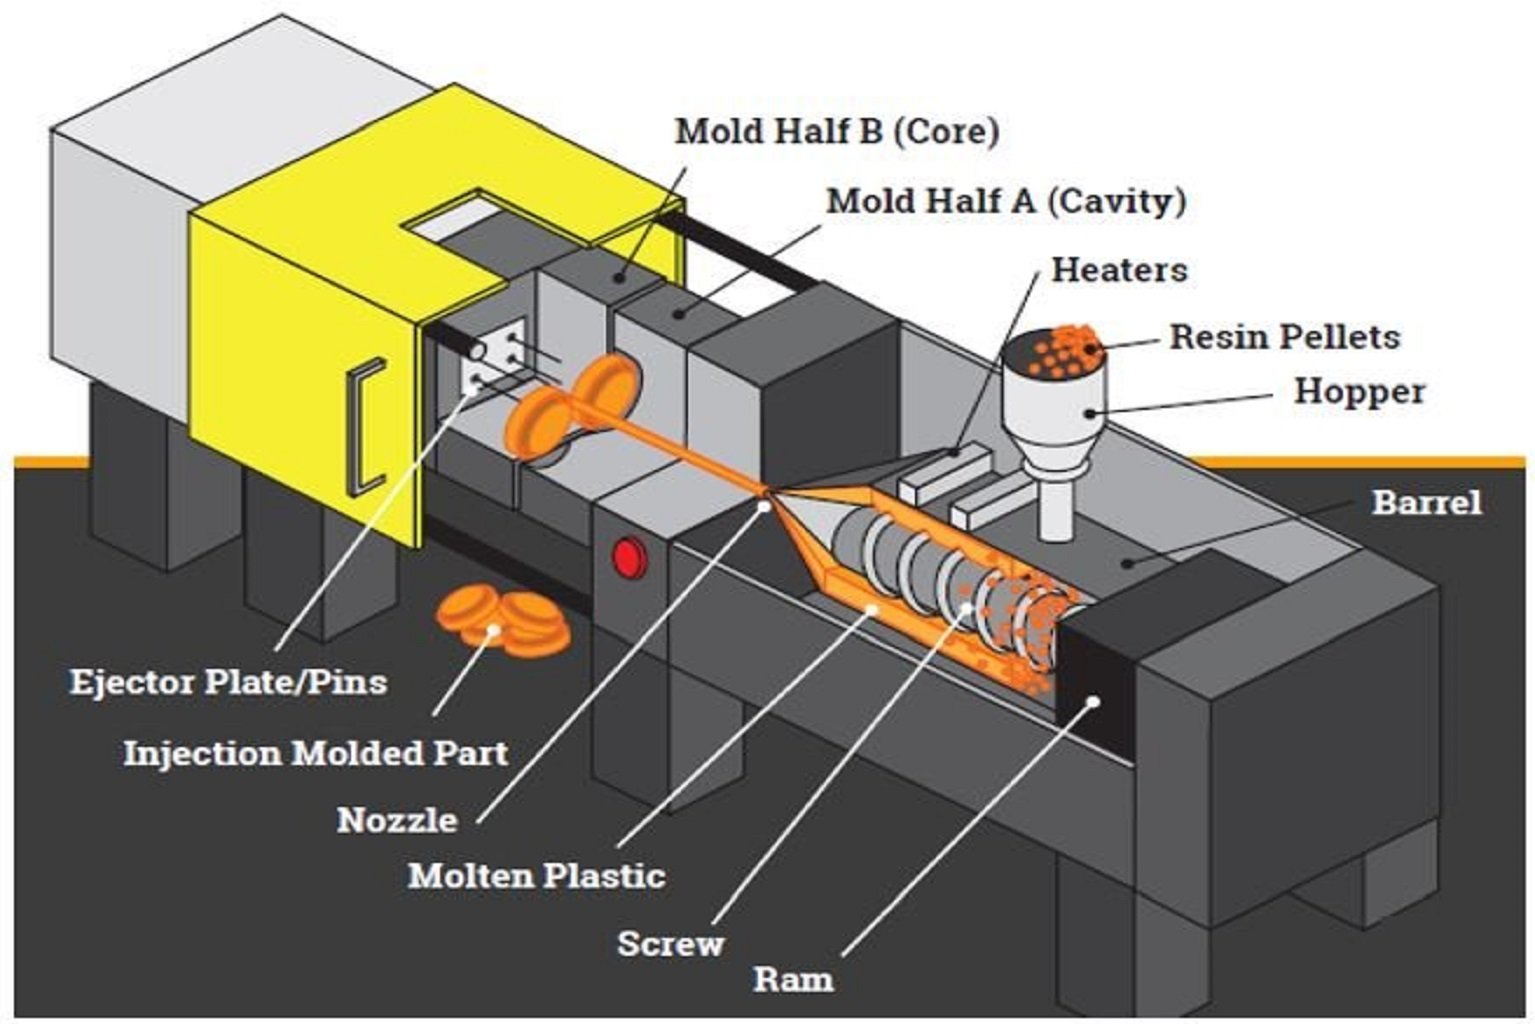
Temperature control is a balancing act. If the temperature is too low, the plastic won’t melt properly, leading to air entrapment. If it’s too high, the plastic can degrade and release gases. The ideal temperature depends on the specific type of plastic you are using. You should always consult the manufacturer’s recommendations.
Here’s what to consider:
| Parameter | Impact on Bubbles | Recommended Action |
|---|---|---|
| Barrel Temperature | Too low: incomplete melting. Too high: material degradation | Maintain temperature within the material’s recommended range |
| Mold Temperature | Affects cooling rate and surface finish | Optimize for uniform cooling, typically lower than barrel temperature |
| Nozzle Temperature | Influences material flow into the mold | Adjust to prevent material from cooling too quickly |
Think of it like baking a cake. Too hot, and you get a burnt outside and a raw inside. Too cold, and it doesn’t rise properly. Similarly, in plastic molding, the right temperature is key to a smooth, bubble-free result. Experiment with slight adjustments to find the sweet spot for your specific material and equipment. It may take some tweaking, but it’s worth it.
Is your plastic slipper mold design optimized for air release?
Is your mold helping or hurting? A poorly designed mold can trap air.
Optimizing the mold design with proper venting and runner systems facilitates air release and ensures uniform material distribution, reducing the likelihood of bubbles.
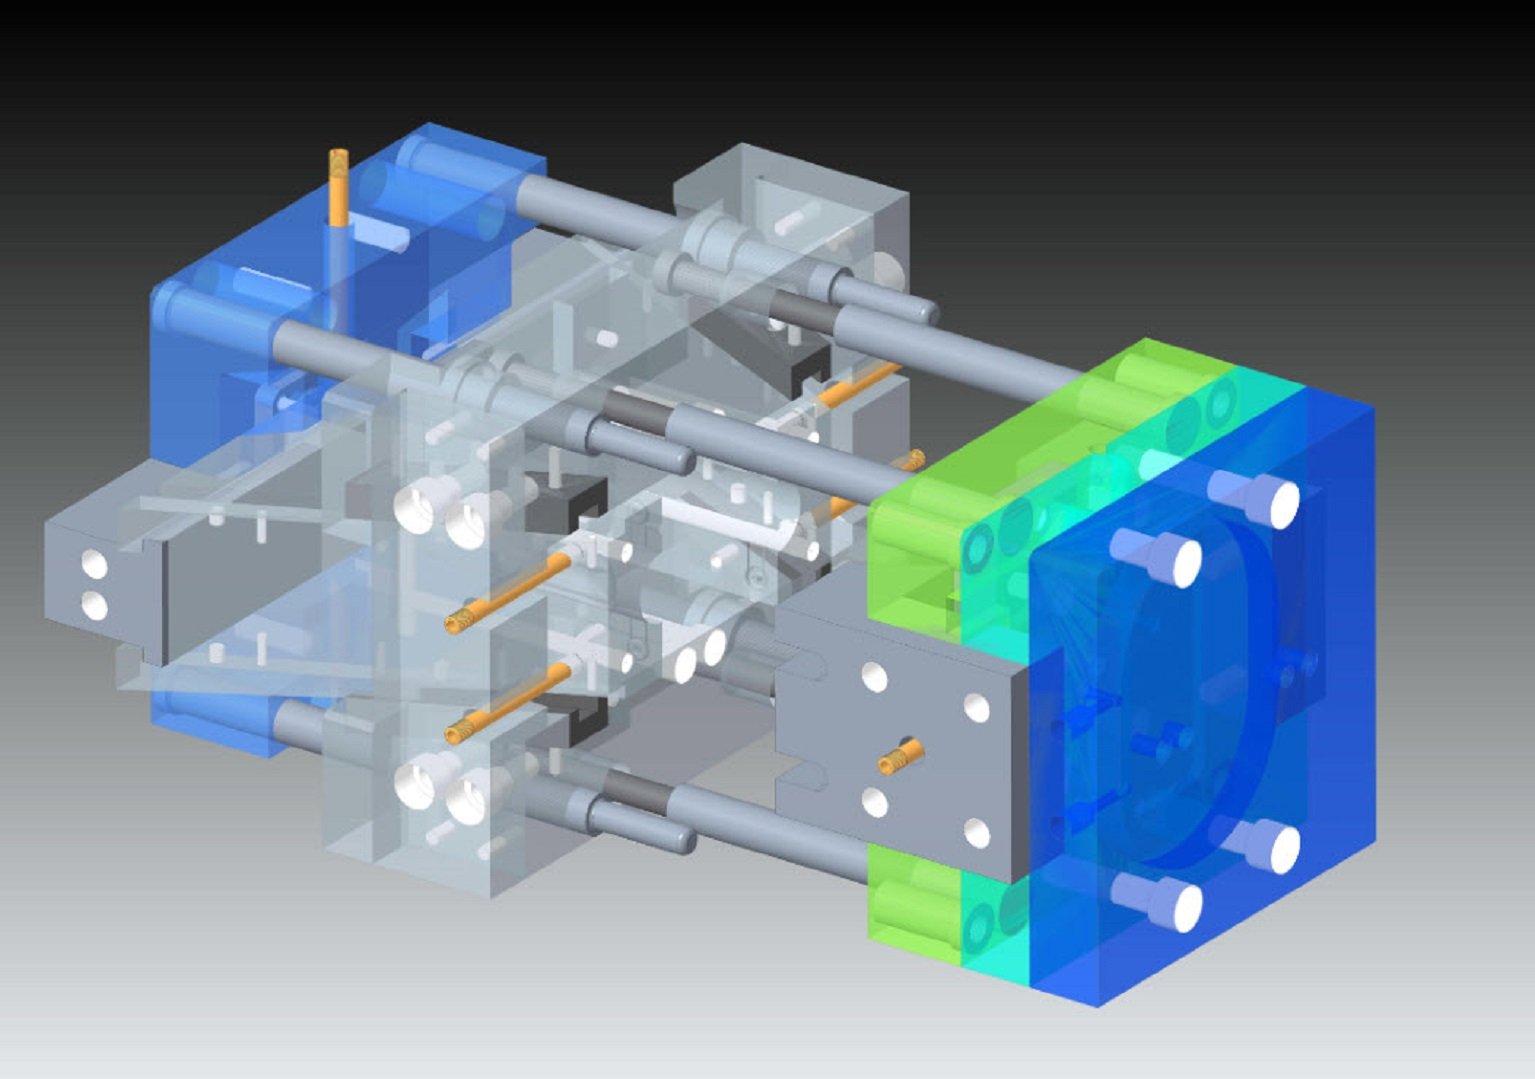
Mold design is more than just the shape of the slipper. It’s about how the plastic flows into the mold and how air can escape. Without proper venting, air gets trapped, leading to bubbles. A well-designed runner system ensures the plastic fills the mold evenly, reducing turbulence and air entrapment.
Here are the main mold design considerations:
| Mold Feature | Function | Impact on Bubbles |
|---|---|---|
| Venting | Allows air to escape during molding | Insufficient venting leads to trapped air |
| Runner System | Distributes material evenly | Poor design causes uneven fill and air entrapment |
| Gate Location | Controls material flow into the mold | Incorrect location can cause turbulence and air bubbles |
| Surface Finish | Affects air adhesion and material flow | Rough surfaces can trap air |
For instance, I remember working with a client who had constant bubble issues. After analyzing their mold design, we found that the venting was inadequate. By adding more vents in strategic locations, we drastically reduced the bubble rate. It’s amazing what a few small changes can do. So, make sure your mold is designed for success.
Conclusion
Reducing bubbles in plastic slippers requires a comprehensive approach. Focus on raw materials, temperature, and mold design.